Sunopsis Data Conductor : Creating an Oracle Project
In this first article since the "Amazing November 2006 Blog Catastrophe", I'm going to go back to Sunopsis Data Conductor and look at what's involved in putting your own project together, running against Oracle datasources and targets. For anyone who's not kept up with the Oracle news, Sunopsis are the ETL vendor Oracle are in the process of buying, and in this section, I'll look at creating the repositories and registering the data servers, with future articles looking at setting up the data mappings and deploying the process.
Sunopsis, like Oracle Warehouse Builder, stores source and target definitions, together with transformation rules, in a repository. Unlike Warehouse Builder though, which has a single unified repository now (containing design and control center elements), Sunopsis has a Master Respository, and multiple dependent Work Repositories, only one of which can be associated with the master one for source control purposes. When you first start working with Sunopsis, the first tasks therefore are to create the master and work repositories, which you do by using the Master Repository Creation utility.
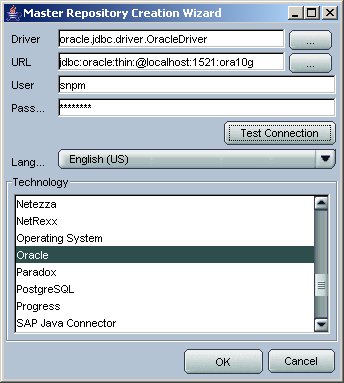
Sunopsis lets you create the repository in any supported database, and to do this you first create two accounts in the required database (SNPM for the master, SNPW for the work repository), then point the utility to these new accounts and let it create the repository objects.
This creates the master repository; once you've done this, you can start up the Topology application and then create the work repository.
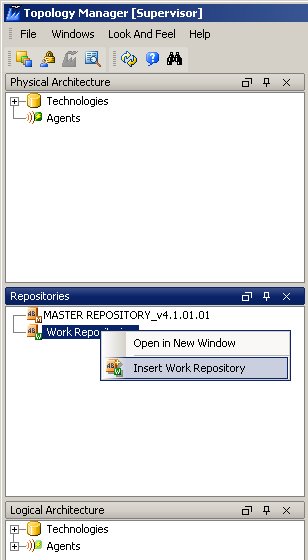
This then prompts you to create a database connection (called a "Data Server" in Sunopsis), connecting to the database via in this case the Oracle think JDBC client; now, you can give the work repository a name and it's own ID number.
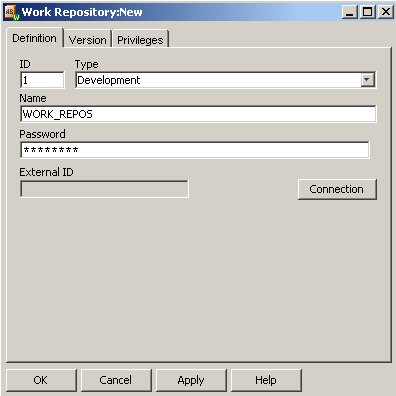
At this point, you've got your repository set up. Now, you use the same Data Server wizards to set up the connections through to your source and target database accounts. You do this from the same Topology application, switch to the Physical Architecture panel and add the new data servers.
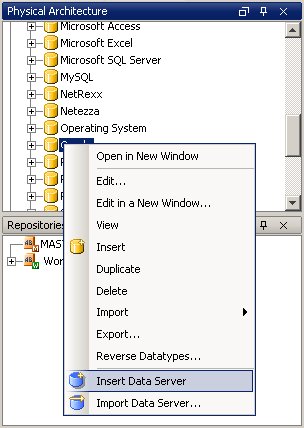
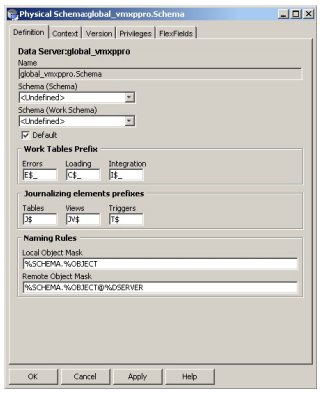
Once you've made the connection, you tell it what prefixes to use for error and logging tables (if performing ETL actions on the server)
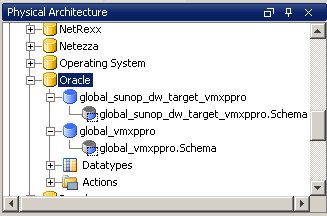
Once you've done this for both source and target database accounts, you'll end up with entries for each under the phyiscal architecture section.
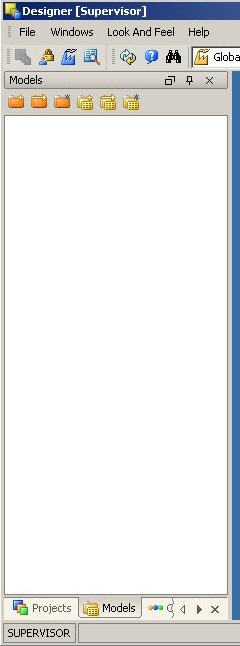
Now you've registered the data sources and targets, it's time to go back to the Designer application and create the project. When you first log on to Designer, the screen is empty and there are multiple tabs at the bottom of the page, two of which we're interested in now; one for Projects, and one for Models.
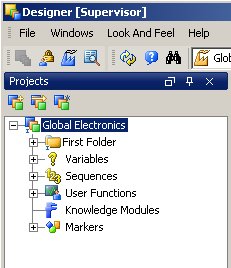
Staying on the Projects tab and creating the project, once you create it, like Warehouse Builder you get a container containing sections for all the elements in the project.
Once the project creation is complete, you then switch over to the Models tab and reverse-engineer the database objects from source and target into the project. Once this is done, you'll have entries for the objects that you'll later use as part of the ETL process.
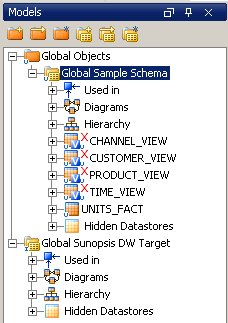
So, we've now created the repositories, created the project, and imported in the source and target metadata. The next step now is to create the data mappings, which I'll probably make a start on on the way home from the UKOUG.