Venkat broke the news earlier today that the full, production release of OBIEE 11gR1 is now available for download on OTN, and in this posting, I'm going to look at the process of installing and initially configuring OBIEE 11gR1. Now I'm not going to go through every step in the process as it's fairly self-explanatory, but I wanted to pick out some of the changes since OBIEE 10g, highlight some of the interesting bits and talk about what it takes to set up a self-contained demo environment. In later postings I'll be looking at setting up the RPD, managing the environment using Enterprise Manager, and taking a look at some of the new front-end features.
In my demo environment, I've got Oracle Database 11gR2 already installed on Windows Server 2003 Enterprise Edition 32-bit. I'm actually using VMWare Fusion (as I'm on a Mac; on Windows I'd use VMWare Workstation or Server instead) to which I've allocated 4GB of RAM. This is the first big change compared to OBIEE 10g, which you could generally get to run, along with a local Oracle database, within 1.5GB - 2.GB of RAM. We'll see later on just what's taking up the additional memory.
There are two main stages to the OBIEE 11gR1 installation:
- Firstly, we use the RCU (Oracle Fusion Middleware 11g Repository Creation Utility) to set up the BIPLATFORM schema to support OBIEE 11gR1, and
- Then, we install OBIEE 11gR1, including the Oracle WebLogic Server J2EE application server that takes the place of OC4J and Oracle Application Server 10g in this release.
If you've ever installed any Fusion Middleware 10g or 11g products (such as Oracle Application Server 10g, or some of the new 11g products such as Discoverer 11g), you'll be familiar with the Repository Creation Utility. This is a Java application, like the Universal Installer, that sets up one or more schemas that need to be in place for the products you are installing. For this release, you can install the required schema into either Oracle Database 9i, 10g or 11g, Microsoft SQL Server or IBM DB/2. I start the RCU, select the option to create schemas (as opposed to dropping them), and then choose the Oracle Database option and enter the required credentials.
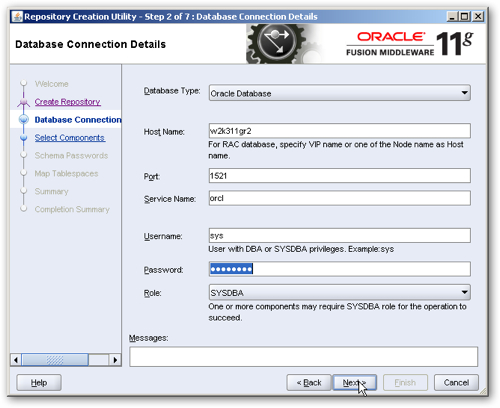
The RCU then carries out a quick check on the database you intend to use (my 11gR2 database didn't need any changes, and I'd installed it fresh with the data warehousing option), and then prompts you to choose which schemas to install. This version of the RCU has an entry for Oracle Business Intelligence, which has a single entry for a component called Business Intelligence Platform. The MDS schema under AS Common Schemas is selected automatically, and is required by the underlying Fusion Middleware platform.
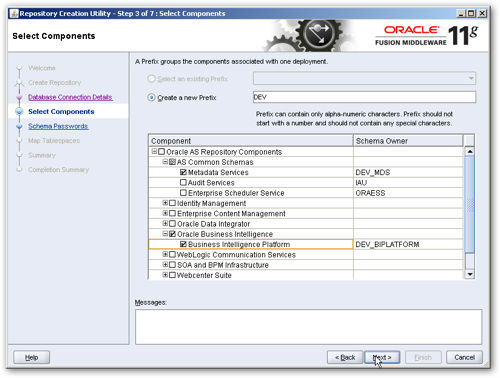
The prefix section is so that you can install multiple sets of schemas for different environments on the same database, but for now I leave this at the default value of DEV, for "development". In OBIEE 11gR1, this DEV_BIPLATFORM schema contains all of the tables that in prior releases, were in schemas such as S_NQ_ACCT, S_NQ_SCHED and the BI Publisher scheduler schema, and it also contains tables that are used by OBIEE 11gR1 additional products such as the EPM Suite Calculation Manager, Oracle Real Time Decisions and other supporting products.
The database is then checked for compatibility, and then another screen is displayed, where you can fine-tune the names given to the tablespaces used for the DEV_BIPLATFORM schema plus other ones that are needed by Fusion Middleware 11g. I just leave these at the default values and allow a separate tablespace to be created for each schema. The RCU then creates the tablespaces and temporary tablespaces, and then creates the schemas and their tables. This process replaces all of the separate scripts that you have to run to set up the Delivers scheduler tables, the BI Publisher scheduler tables, the usage tracking accounting tables and so on that you had to do as post-install steps with OBIEE 10g. Once this is done, you're ready to install OBIEE 11g proper.
Once the RCU process is complete, it's time to install OBIEE 11g proper. After starting up the OBIEE 11gR1 installer, the first big change compared to 11g is that we're now using the 11g version of the Oracle Installer (as used in Oracle Fusion Middleware 11g, and Oracle Database 11gR2) as opposed to the old Siebel-derived one. This new installer prompts you to use the RCU if you've not done so already, and lists out the tasks down the left hand side that you'll need to complete.
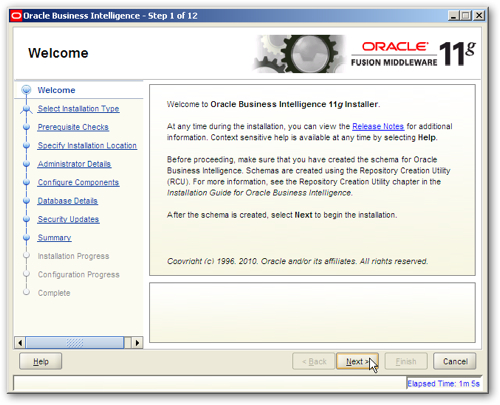
The first page proper of the new installer asks you to select from one of three install types:
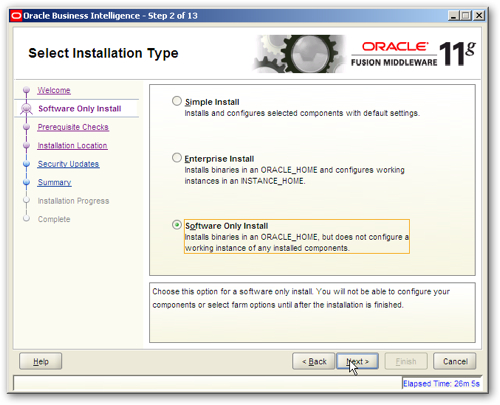
- Simple Install, which is what most developers testing out the software will require, installs a basic OBIEE 11gR1 system along with WebLogic Server, using default values for things like domain names, port numbers and the like.
- Enterprise Install gives you a few more options than a Simple Install, letting you customize the name of the WebLogic domain, the WebLogic Managed Server, the ports that are used and so on. If you need to vary away from the defaults, or "scale out" an existing installation, choose this option (but for most developers, Simple Install will be fine)
- Software Only Install will install the OBIEE 11gR1 software (but not WebLogic Server, you need to have this already installed), but doesn't set up any "instances" of OBIEE, a similar situation to when you install the Oracle Database binaries but don't configure a database instance.
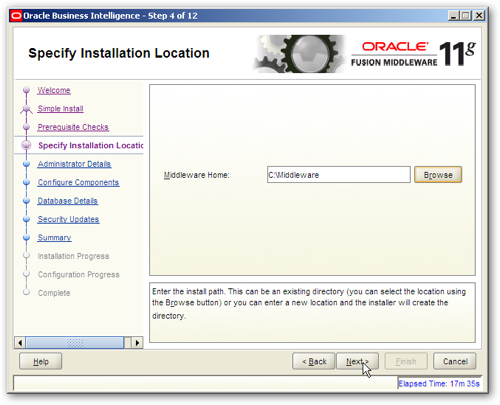
Selecting the Simple Install option will move you on to the next page for the installer, which then prompts you to select a "middleware home" for your installation. All of the OBIEE 11gR1 installation will go into this (there are no longer OracleBI, or OracleBIData directories), including the binaries and the "OBIEE instance" files, creating a separation in 11gR1 between those files that are static - the binaries and configuration file templates - and those that change over time, which include the configuration files, repositories, XML files and web catalog.
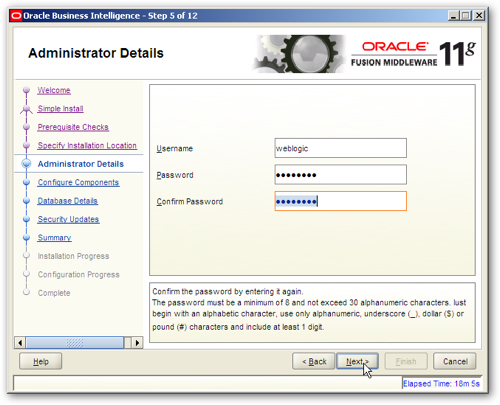
Pressing Next then brings you onto a screen that prompts you for a username and password for the WebLogic Server, and OBIEE, administrator. In 11gR1 there is no longer the concept of an Administrator user, and instead you create an administrator user here that becomes the default admin login into OBIEE (and the various WebLogic Server administration tools). I choose the username weblogic password welcome1, and press Next to proceed.
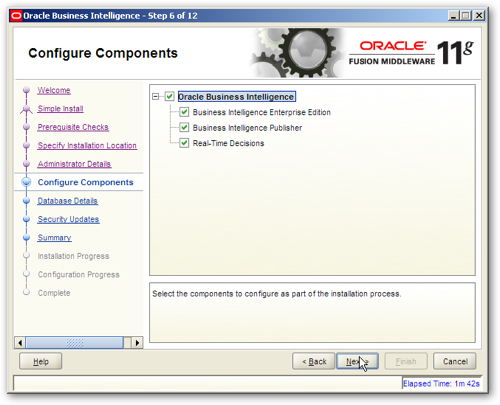
I'm now asked to confirm the products that I want to install. In later releases of OBIEE 11g, this list may include products such as Oracle Essbase and the other EPM Suite products, but for now you can select Business Intelligence Enterprise Edition, Business Intelligence Publisher, and Oracle Real Time Decisions. I select all three and press Next to proceed.
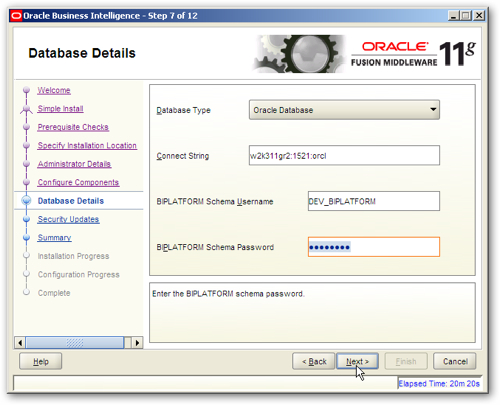
Next I'm prompted to enter connection details to the database in which I set up the DEV_BIPLATFORM schema. I look back to the connection details I used for the RCU and enter these details, pressing Next to continue.
After running a couple of checks and asking me for my Metalink login (optional, can be used for notification about available patches), the installer then summarises what it's going to do next, and invites me to press the Install button to start the installation.
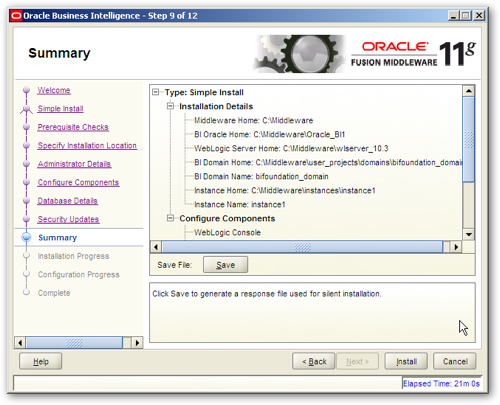
The installation process then begins, and starts by installing the supporting WebLogic Server files required for the infrastructure layer.
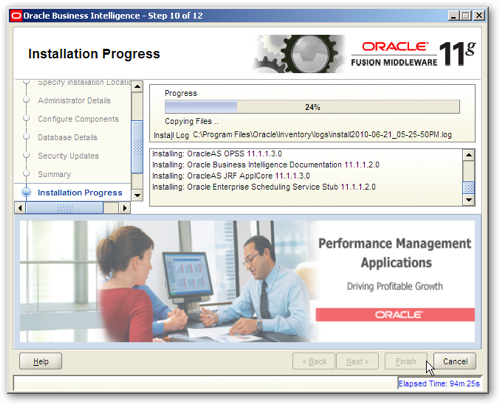
It then proceeds to install what in 11gR1 are called the "System Components", which in this release are still C++ applications but are managed now by WebLogic.
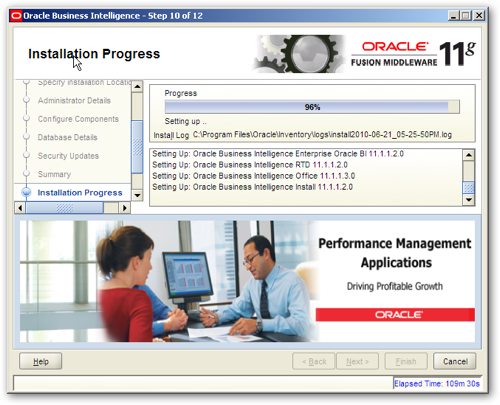
Once installation has finished, the configuration process starts. Initially, this is concerned with instantiating the WebLogic domain and managed server, together with supporting technologies such as Enterprise Manager and Oracle Web Services Manager.
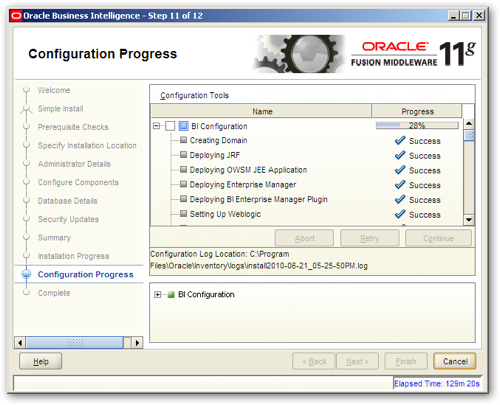
Then, the BI Server, BI Presentation Server and other system components are registered within the WebLogic Server managed server, and OPMN is configured so that it can stop, start and monitor them (more on this in future blog posts).
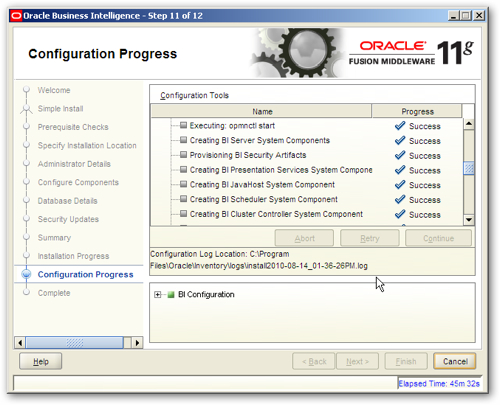
Other components that were included as part of the components I selected are then configured, and in the screenshot below we can see the parts of OBIEE that run as J2EE applications (referred to in 11gR1 as "Java Components" as opposed to "System Components") being deployed to the WebLogic Server managed server. Both the Java components and system components will later on be managed by Enterprise Manager and the WebLogic Server admin console.
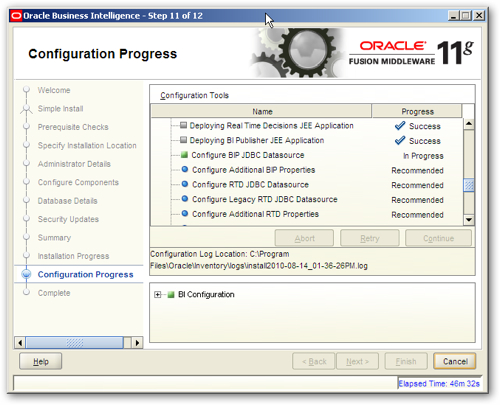
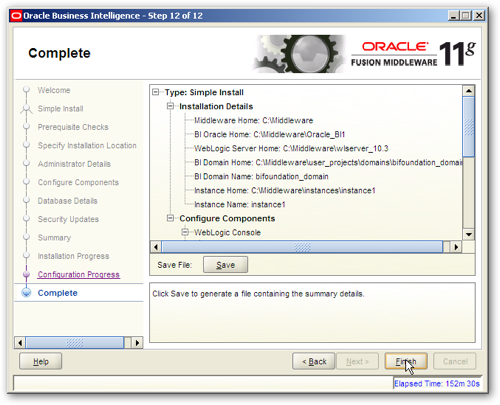
Assuming all of this completes without error, you are finally presented with a summary of what's been installed on your system, like this:
So what does the Enterprise Install option do then, beyond and above this? Let's go back to the start of the installation process and see what extra choices we get.
After selecting the Enterprise Install option, you are firstly asked whether you want to Create a new BI System, or Scale Out BI System. We'll get onto the scale out option in a moment, but for now we select the option to install a new system, and enter the WebLogic / OBIEE administration user details, and also in this instance give a name to the WebLogic domain that'll be set up.
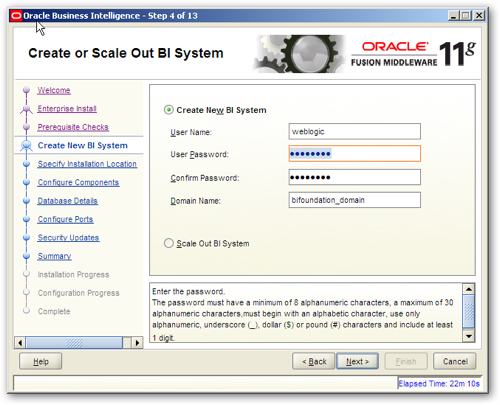
I choose the same user name and password as before for this account, and leave the domain name at the default. Pressing Next then brings me to the next set of choices, where I supply the location of the middleware home, the domain home and the instance home and name, which is where the various configuration and repository files will be stored for the new OBIEE instance.
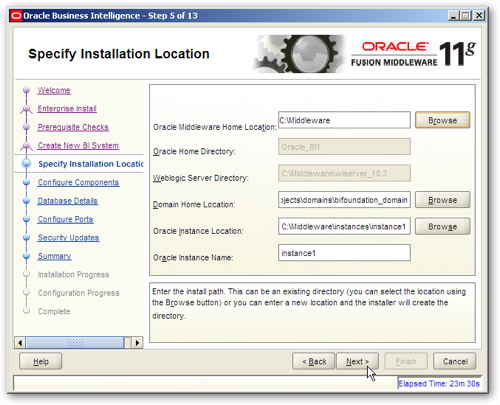
After this screen, you are then prompted to select from the same product list as in the Simple Install option. After selecting the same products as before, the next new screen is one where you can either choose to use the default port numbers, or you can point the installer to a file that contains your own custom port mappings (this is a standard process in the Oracle Universal Installer, but the Simple Install option just used the defaults).
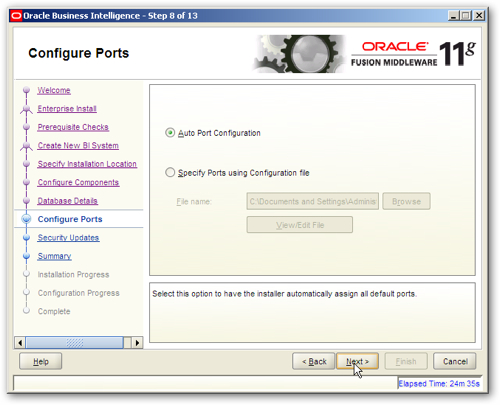
Beyond this point, the installation process is the same as with the Simple Install option, and the installer will continue to install, and then configure, the options you have chosen.
Going back a moment to the start of the Enterprise Install option, you may remember that there was an option to "scale out" an existing OBIEE system. What this does is allows you to add more OBIEE and WebLogic components to an existing OBIEE 11gR1 domain, and we'll look at this option in more detail in a later blog posting. In a similar vein, the third option, for a Software Only Install, lets you install just the OBIEE components (system components and Java components) into an existing WebLogic installation, like this:
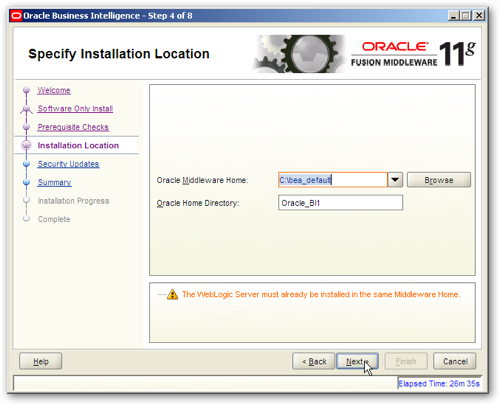
This is useful if you've already got a WebLogic Server installation somewhere and you want to configure it to run OBIEE as well, and we'll look at these last two areas in some future blog postings when we address the topic of scalability, clustering and high availability. For now though, we've got an OBIEE 11gR1 system installed, and once we've done a reboot (not mandatory, but can often free up a bit of memory after the install process) we can select the Run BI Services entry from the Oracle Business Intelligence Windows Start Menu entry to start all the processes.
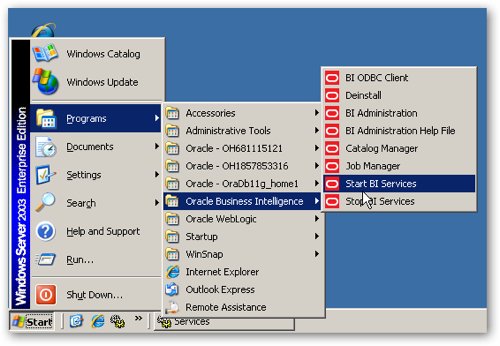
If you take a look at the list of Windows services before this menu entry is selected, you can see that the list of servers - Oracle BI Server, Oracle BI Presentation Server and so on - that were listed as part of 10g, have now been replaced by two new ones in this release.
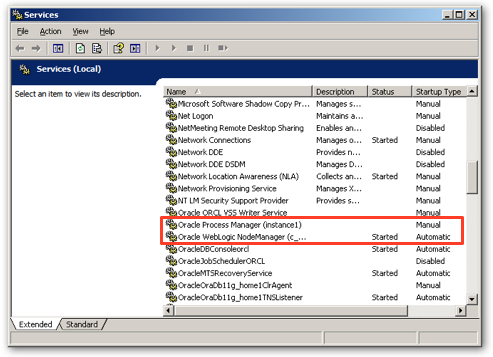
Oracle Process Manager (Instance1) is the service for OPMN, and controls the status of the system components that have replaced the individual services for components such as the BI Server and Presentation Server. Oracle WebLogic NodeManager (c_Middleware_wlserver_10.3) is a service that starts up and shuts down the individual WebLogic Server managed servers, not strictly necessary on a one-node system but essential for multi-node systems, so that an individual WebLogic Server admin server can start up remote managed servers.
Once you run the Windows Start Menu entry, a DOS box opens up which allows you to type in the WebLogic Server admin username and password, which you set earlier on in the install process.
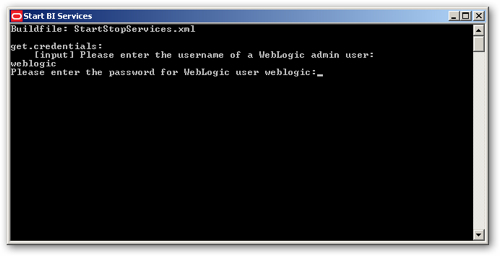
Once this is entered, a WebLogic Server script then starts the admin server, then the managed server, the OPMN service any other components, and about five minutes later you should be able to log into OBIEE 11g, again using the WebLogic Server admin username and password.
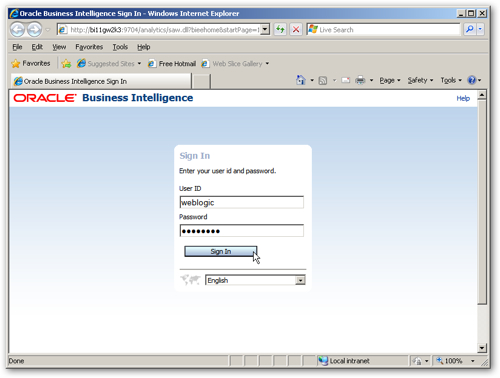
So there we have it. Tomorrow, I'll be writing about basic OBIEE 11gR1 administration processes including a guide to where all the key files have gone, which will then be followed next week by a series of postings by Venkat on new features in the BI Server 11g.


