ETL Offload with Spark and Amazon EMR - Part 3 - Running pySpark on EMR
In the previous articles (here, and here) I gave the background to a project we did for a client, exploring the benefits of Spark-based ETL processing running on Amazon's Elastic Map Reduce (EMR) Hadoop platform. The proof of concept we ran was on a very simple requirement, taking inbound files from a third party, joining to them to some reference data, and then making the result available for analysis.
I showed here how I built up the prototype PySpark code on my local machine, using Docker to quickly and easily make available the full development environment needed.
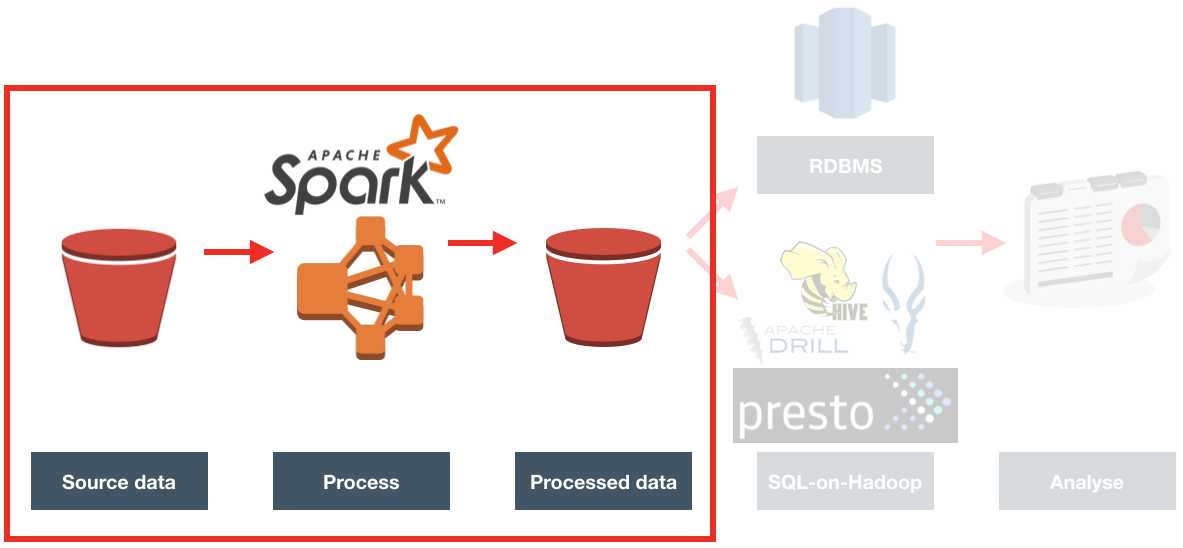
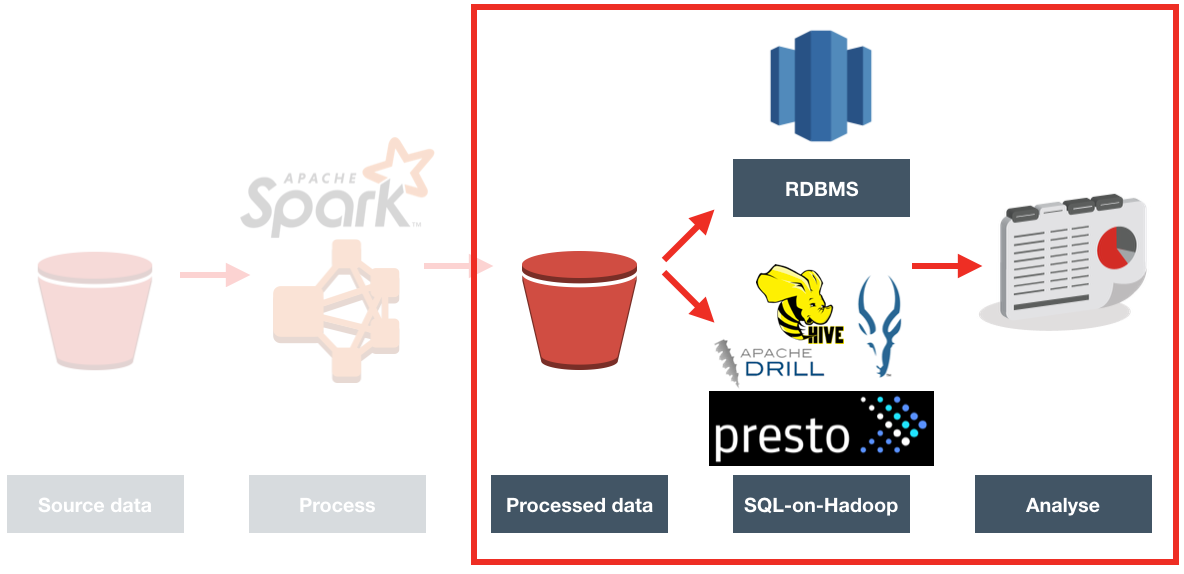
Now it's time to get it running on a proper Hadoop platform. Since the client we were working with already have a big presence on Amazon Web Services (AWS), using Amazon's Hadoop platform made sense. Amazon's Elastic Map Reduce, commonly known as EMR, is a fully configured Hadoop cluster. You can specify the size of the cluster and vary it as you want (hence, "Elastic"). One of the very powerful features of it is that being a cloud service, you can provision it on demand, run your workload, and then shut it down. Instead of having a rack of physical servers running your Hadoop platform, you can instead spin up EMR whenever you want to do some processing - to a size appropriate to the processing required - and only pay for the processing time that you need.
Moving my locally-developed PySpark code to run on EMR should be easy, since they're both running Spark. Should be easy, right? Well, this is where it gets - as we say in the trade - "interesting". Part of my challenges were down to the learning curve in being new to this set of technology. However, others I would point to more as being examples of where the brave new world of Big Data tooling becomes less an exercise in exciting endless possibilities and more stubbornly Googling errors due to JAR clashes and software version mismatches...
Provisioning EMR
Whilst it's possible to make the entire execution of the PySpark job automated (including the provisioning of the EMR cluster itself), to start with I wanted to run it manually to check each step along the way.
To create an EMR cluster simply login to the EMR console and click Create
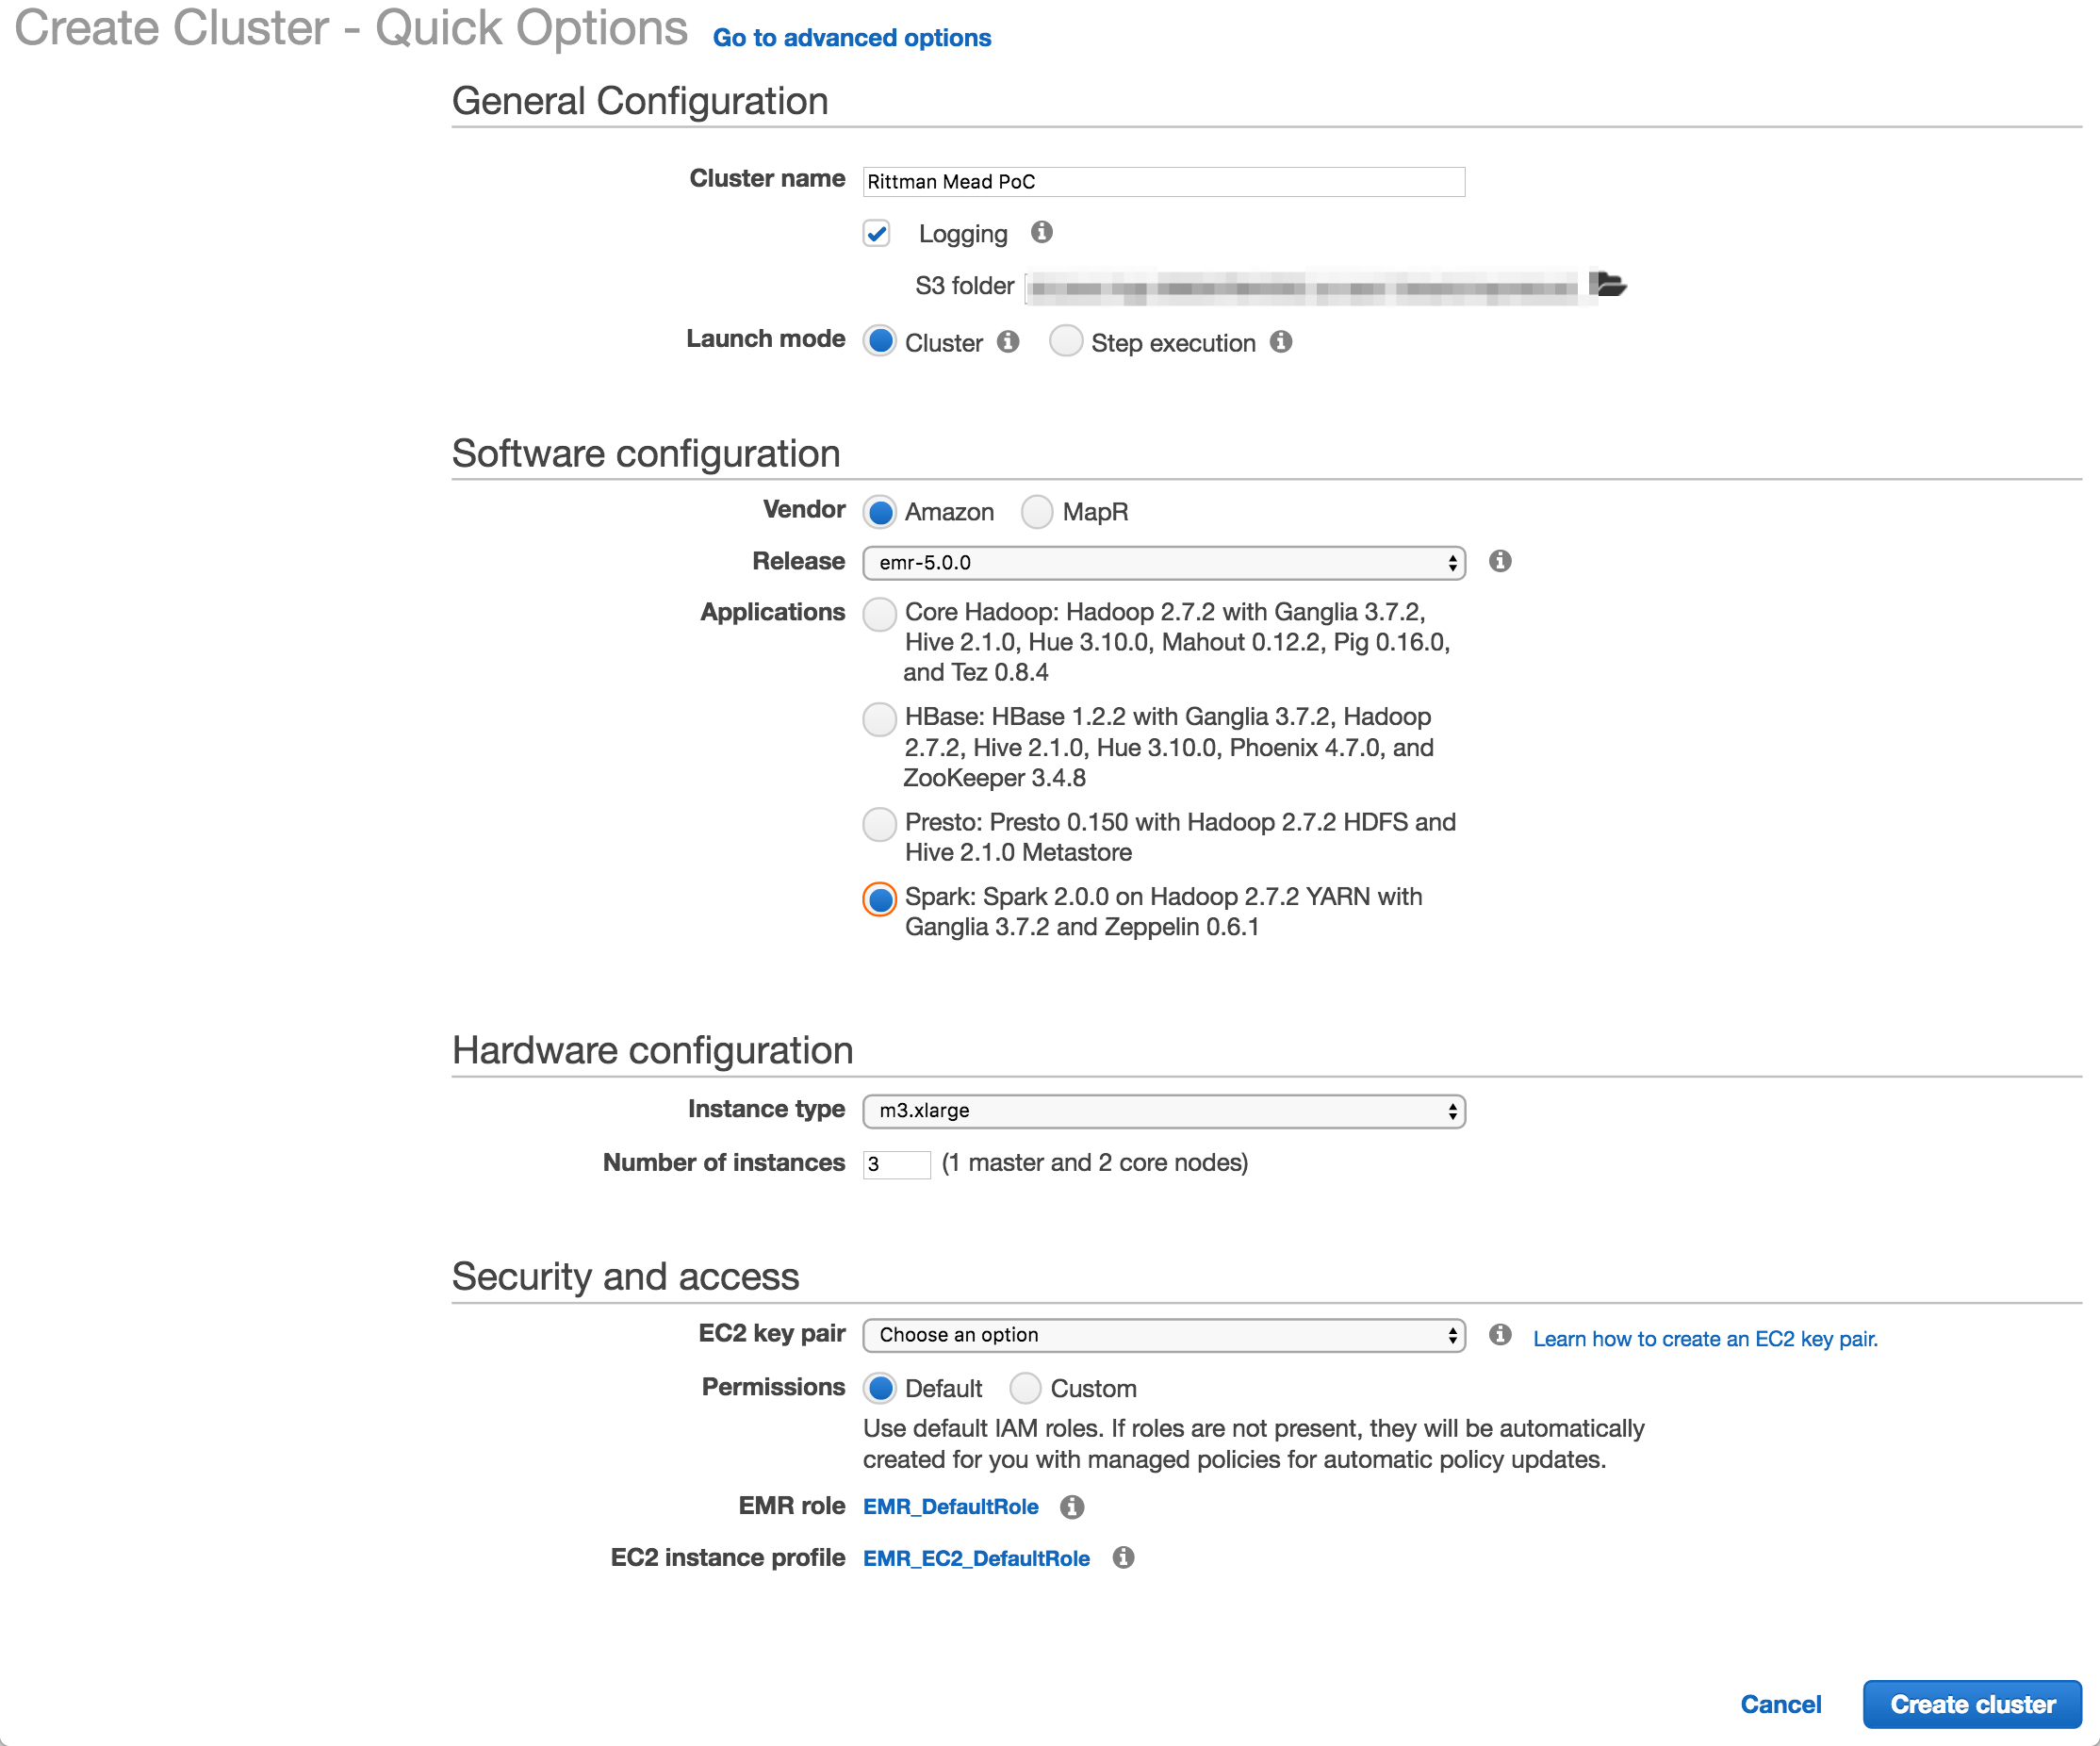
I used Amazon's EMR distribution, configured for Spark. You can also deploy a MapR-based hadoop platform, and use the Advanced tab to pick and mix the applications to deploy (such as Spark, Presto, etc).
The number and size of the nodes is configured here (I used the default, 3 machines of m3.xlarge spec), as is the SSH key. The latter is very important to get right, otherwise you won't be able to connect to your cluster over SSH.
Once you click Create cluster Amazon automagically provisions the underlying EC2 servers, and deploys and configures the software and Hadoop clustering across them. Anyone who's set up a Hadoop cluster will know that literally a one-click deploy of a cluster is a big deal!
If you're going to be connecting to the EMR cluster from your local machine you'll want to modify the security group assigned to it once provisioned and enable access to the necessary ports (e.g. for SSH) from your local IP.
Deploying the code
I developed the ETL code in Jupyter Notebooks, from where it's possible to export it to a variety of formats - including .py Python script. All the comment blocks from the Notebook are carried across as inline code comments.
To transfer the Python code to the EMR cluster master node I initially used scp, simply out of habit. But, a much more appropriate solution soon presented itself - S3! Not only is this a handy way of moving data around, but it comes into its own when we look at automating the EMR execution later on.
To upload a file to S3 you can use the S3 web interface, or a tool such as Cyberduck. Better, if you like the command line as I do, is the AWS CLI tools. Once installed, you can run this from your local machine:
aws s3 cp Acme.py s3://foobar-bucket/code/Acme.py
You'll see that the syntax is pretty much the same as the Linux cp comand, specifying source and then destination. You can do a vast amount of AWS work from this command line tool - including provisioning EMR clusters, as we'll see shortly.
So with the code up on S3, I then SSH'd to the EMR master node (as the hadoop user, not ec2-user), and transfered it locally. One of the nice things about EMR is that it comes with your AWS security automagically configred. Whereas on my local machine I need to configure my AWS credentials in order to use any of the aws commands, on EMR the credentials are there already.
aws s3 cp s3://foobar-bucket/code/Acme.py ~
This copied the Python code down into the home folder of the hadoop user.
Running the code - manually
To invoke the code, simply run:
spark-submit Acme.py
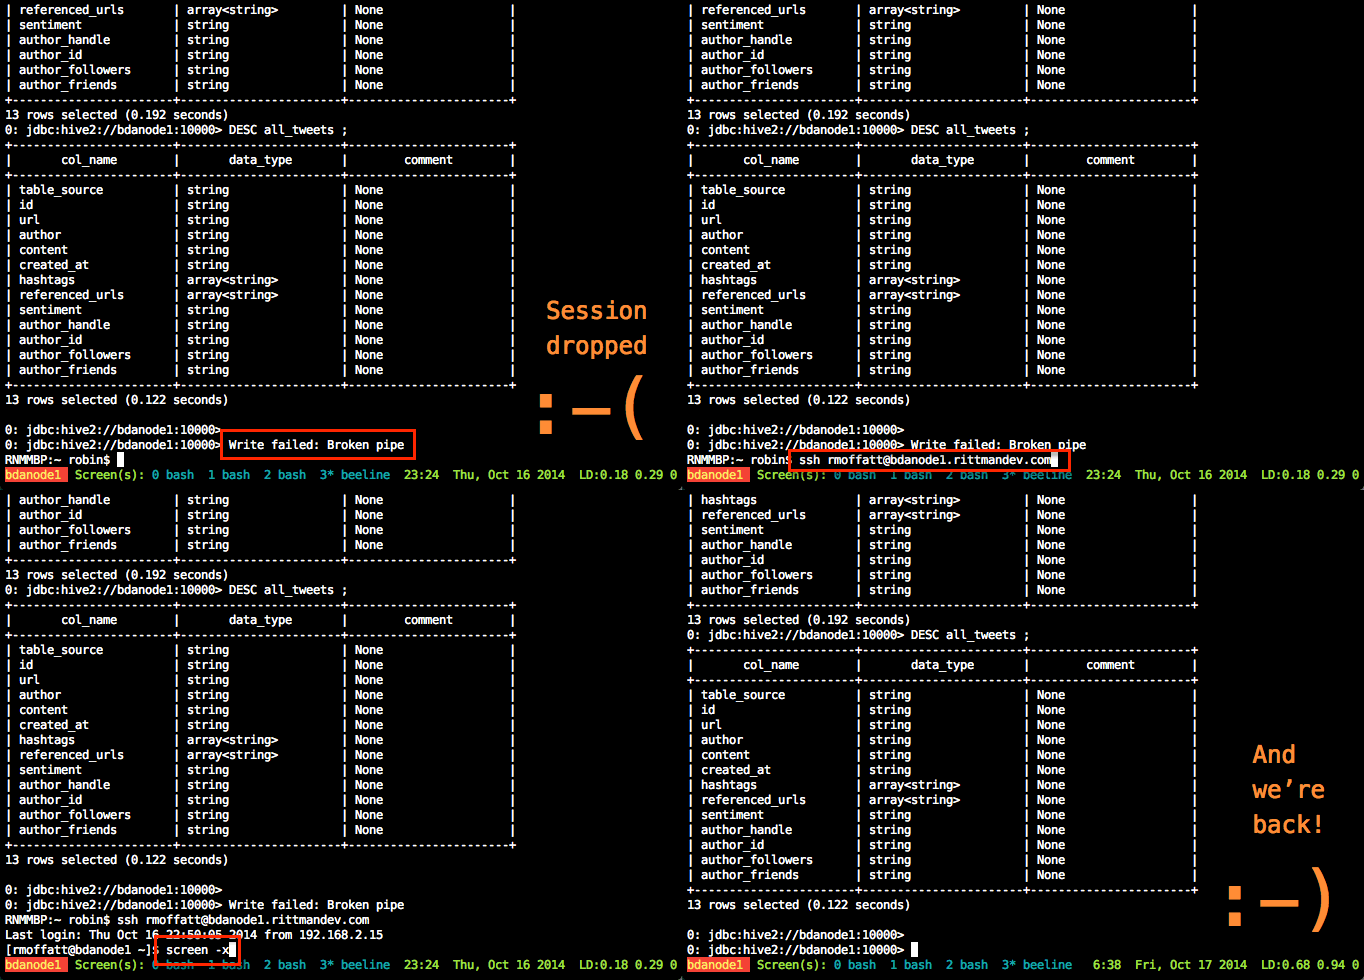
A very useful thing to use, if you aren't already, is GNU screen (or tmux, if that's your thing). GNU screen is installed by default on EMR (as it is on many modern Linux distros nowadays). Screen does lots of cool things, but of particular relevance here is it lets you close your SSH connection whilst keeping your session on the server open and running. You can then reconnect at a later time back to it, and pick up where you left off. Whilst you're disconnected, your session is still running and the work still being processed.
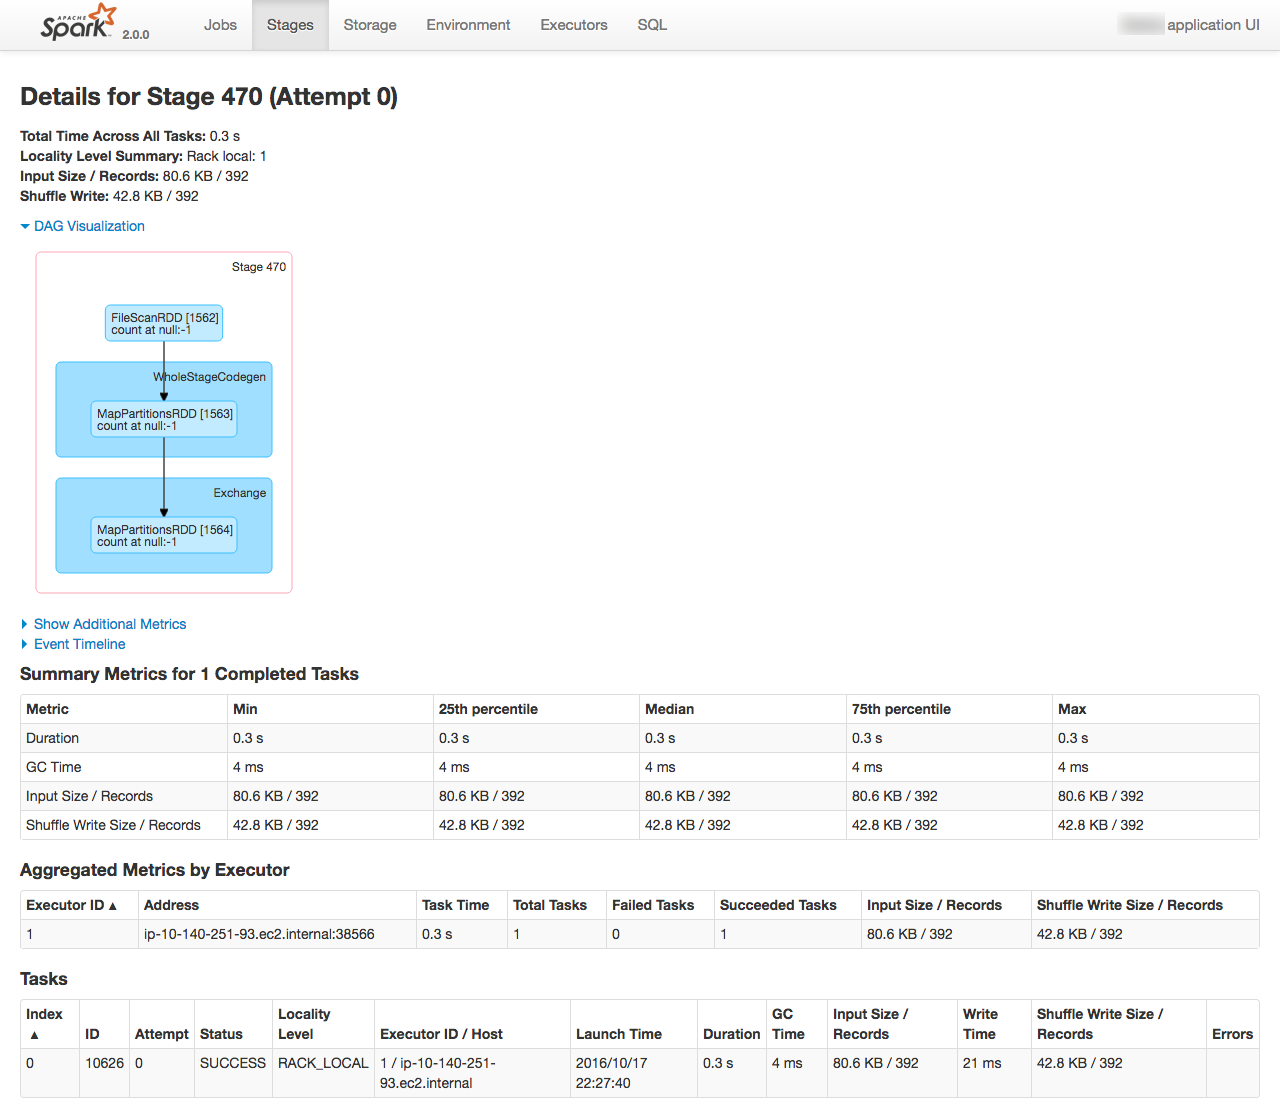
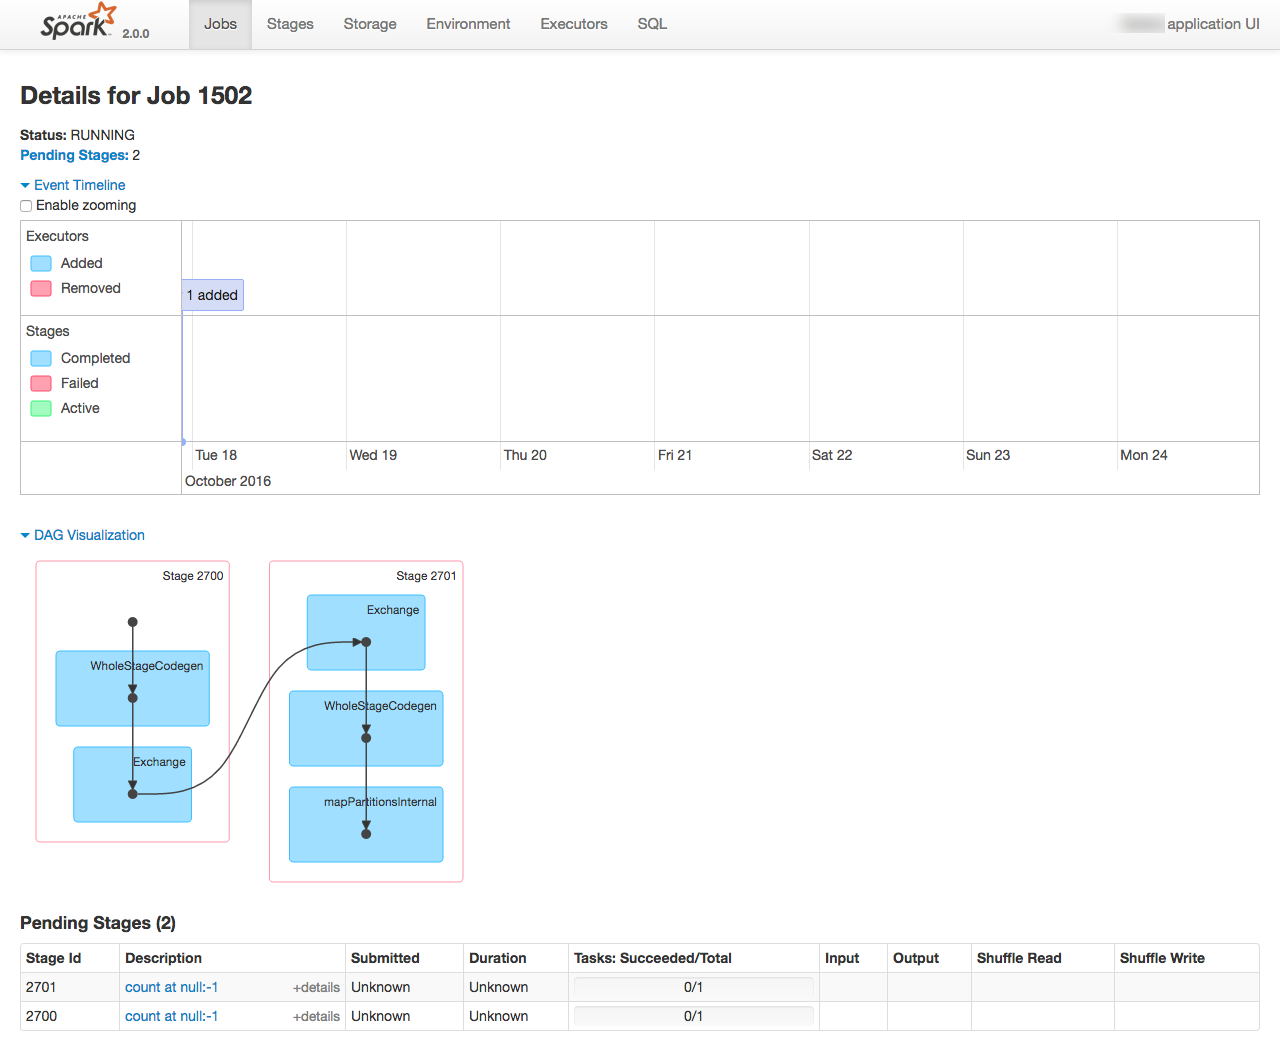
From the Spark console you can monitor the execution of the job running, as well as digging into the details of how it undertakes the work. See the EMR cluster home page on AWS for the Spark console URL
Problems encountered
I've worked in IT for 15 years now (gasp). Never has the phrase "The devil's in the detail" been more applicable than in the fast-moving world of big data tools. It's not suprising really given the staggering rate at which code is released that sometimes it's a bit quirky, or lacking what may be thought of as basic functionality (often in areas such as security). Each of these individual points could, I suppose, be explained away with a bit of RTFM - but the nett effect is that what on paper sounds simple took the best part of half a day and a LOT of Googling to resolve.
Bear in mind, this is code that ran just fine previously on my local development environment.
When using SigV4, you must specify a 'host' parameter
boto.s3.connection.HostRequiredError: BotoClientError: When using SigV4, you must specify a 'host' parameter.
To fix, switch
conn_s3 = boto.connect_s3()
for
conn_s3 = boto.connect_s3(host='s3.amazonaws.com')
You can see a list of endpoints here.
boto.exception.S3ResponseError: S3ResponseError: 400 Bad Request
Make sure you're specifying the correct hostname (see above) for the bucket's region. Determine the bucket's region from the S3 control panel, and then use the endpoint listed here.
Error: Partition column not found in schema
Strike this one off as bad programming on my part; in the step to write the processed file back to S3, I had partitionBy='', in the save function
duplicates_df.coalesce(1).write.save(full_uri,
                                     format='com.databricks.spark.csv',
                                     header='false',
                                     partitionBy='',
                                     mode='overwrite')
This, along with the coalesce (which combined all the partitions down to a single one) were wrong, and fixed by changing to:
duplicates_df.write.save(full_uri,
                         format='com.databricks.spark.csv',
                         header='false',
                         mode='overwrite')
Exception: Python in worker has different version 2.6 than that in driver 2.7, PySpark cannot run with different minor versions
To get the code to work on my local Docker/Jupyter development environment, I set an environment variable as part of the Python code to specify the Python executable:
os.environ['PYSPARK_PYTHON'] = '/usr/bin/python2'
I removed this (along with all the PYSPARK_SUBMIT_ARGS) and the code then ran fine.
Timestamp woes
In my original pySpark code I was letting it infer the schema from the source, which included it determining (correctly) that one of the columns was a timestamp. When it wrote the resulting processed file, it wrote the timestamp in a standard format (YYYY-MM-DD HH24:MI:SS). Redshift (of which more in the next article) was quite happy to process this as a timestamp, because it was one.
Once I moved the pySpark code to EMR, the Spark engine moved from my local 1.6 version to 2.0.0 - and the behaviour of the CSV writer changed. Instead of the format before, it switched to writing the timestamp in epoch form, and not just that but microseconds since epoch. Whilst Redshift could cope with epoch seconds, or milliseconds, it doesn't support microseconds, and the load job failed
Invalid timestamp format or value [YYYY-MM-DD HH24:MI:SS]
and then
Fails: Epoch time copy out of acceptable range of [-62167219200000, 253402300799999]
Whilst I did RTFM, it turns out that I read the wrong FM, taking the latest (2.0.1) instead of the version that EMR was running (2.0.0). And whilst 2.0.1 includes support for specifying the output timestampFormat, 2.0.0 doesn't.
In the end I changed the Spark job to not infer the schema, and so treat the timestamp as a string, thus writing it out in the same format. This was a successful workaround here, but if I'd needed to do some timestamp-based processing in the Spark job I'd have had to find another option.
Success!
I now had the ETL job running on Spark on EMR, processing multiple files in turn. Timings were approximately five minutes to process five files, half a million rows in total.
One important point to bear in mind through all of this is that I've gone with default settings throughout, and not made any effort to optimise the PySpark code. At this stage, it's simply proving the end-to-end process.
Automating the ETL
Having seen that the Spark job would run successfully manually, I now went to automate it. It's actually very simple to do. When you launch an EMR cluster, or indeed even if it's running, you can add a Step, such as a Spark job. You can also configure EMR to terminate itself once the step is complete.
From the EMR cluster create screen, switch to Advanced. Here you can specify exactly which applications you want deployed - and what steps to run. Remember how we copied the Acme.py code to S3 earlier? Now's when it comes in handy! We simply point EMR at the S3 path and it will run that code for us - no need to do anything else. Once the code's finished executing, the EMR cluster will terminate itself.
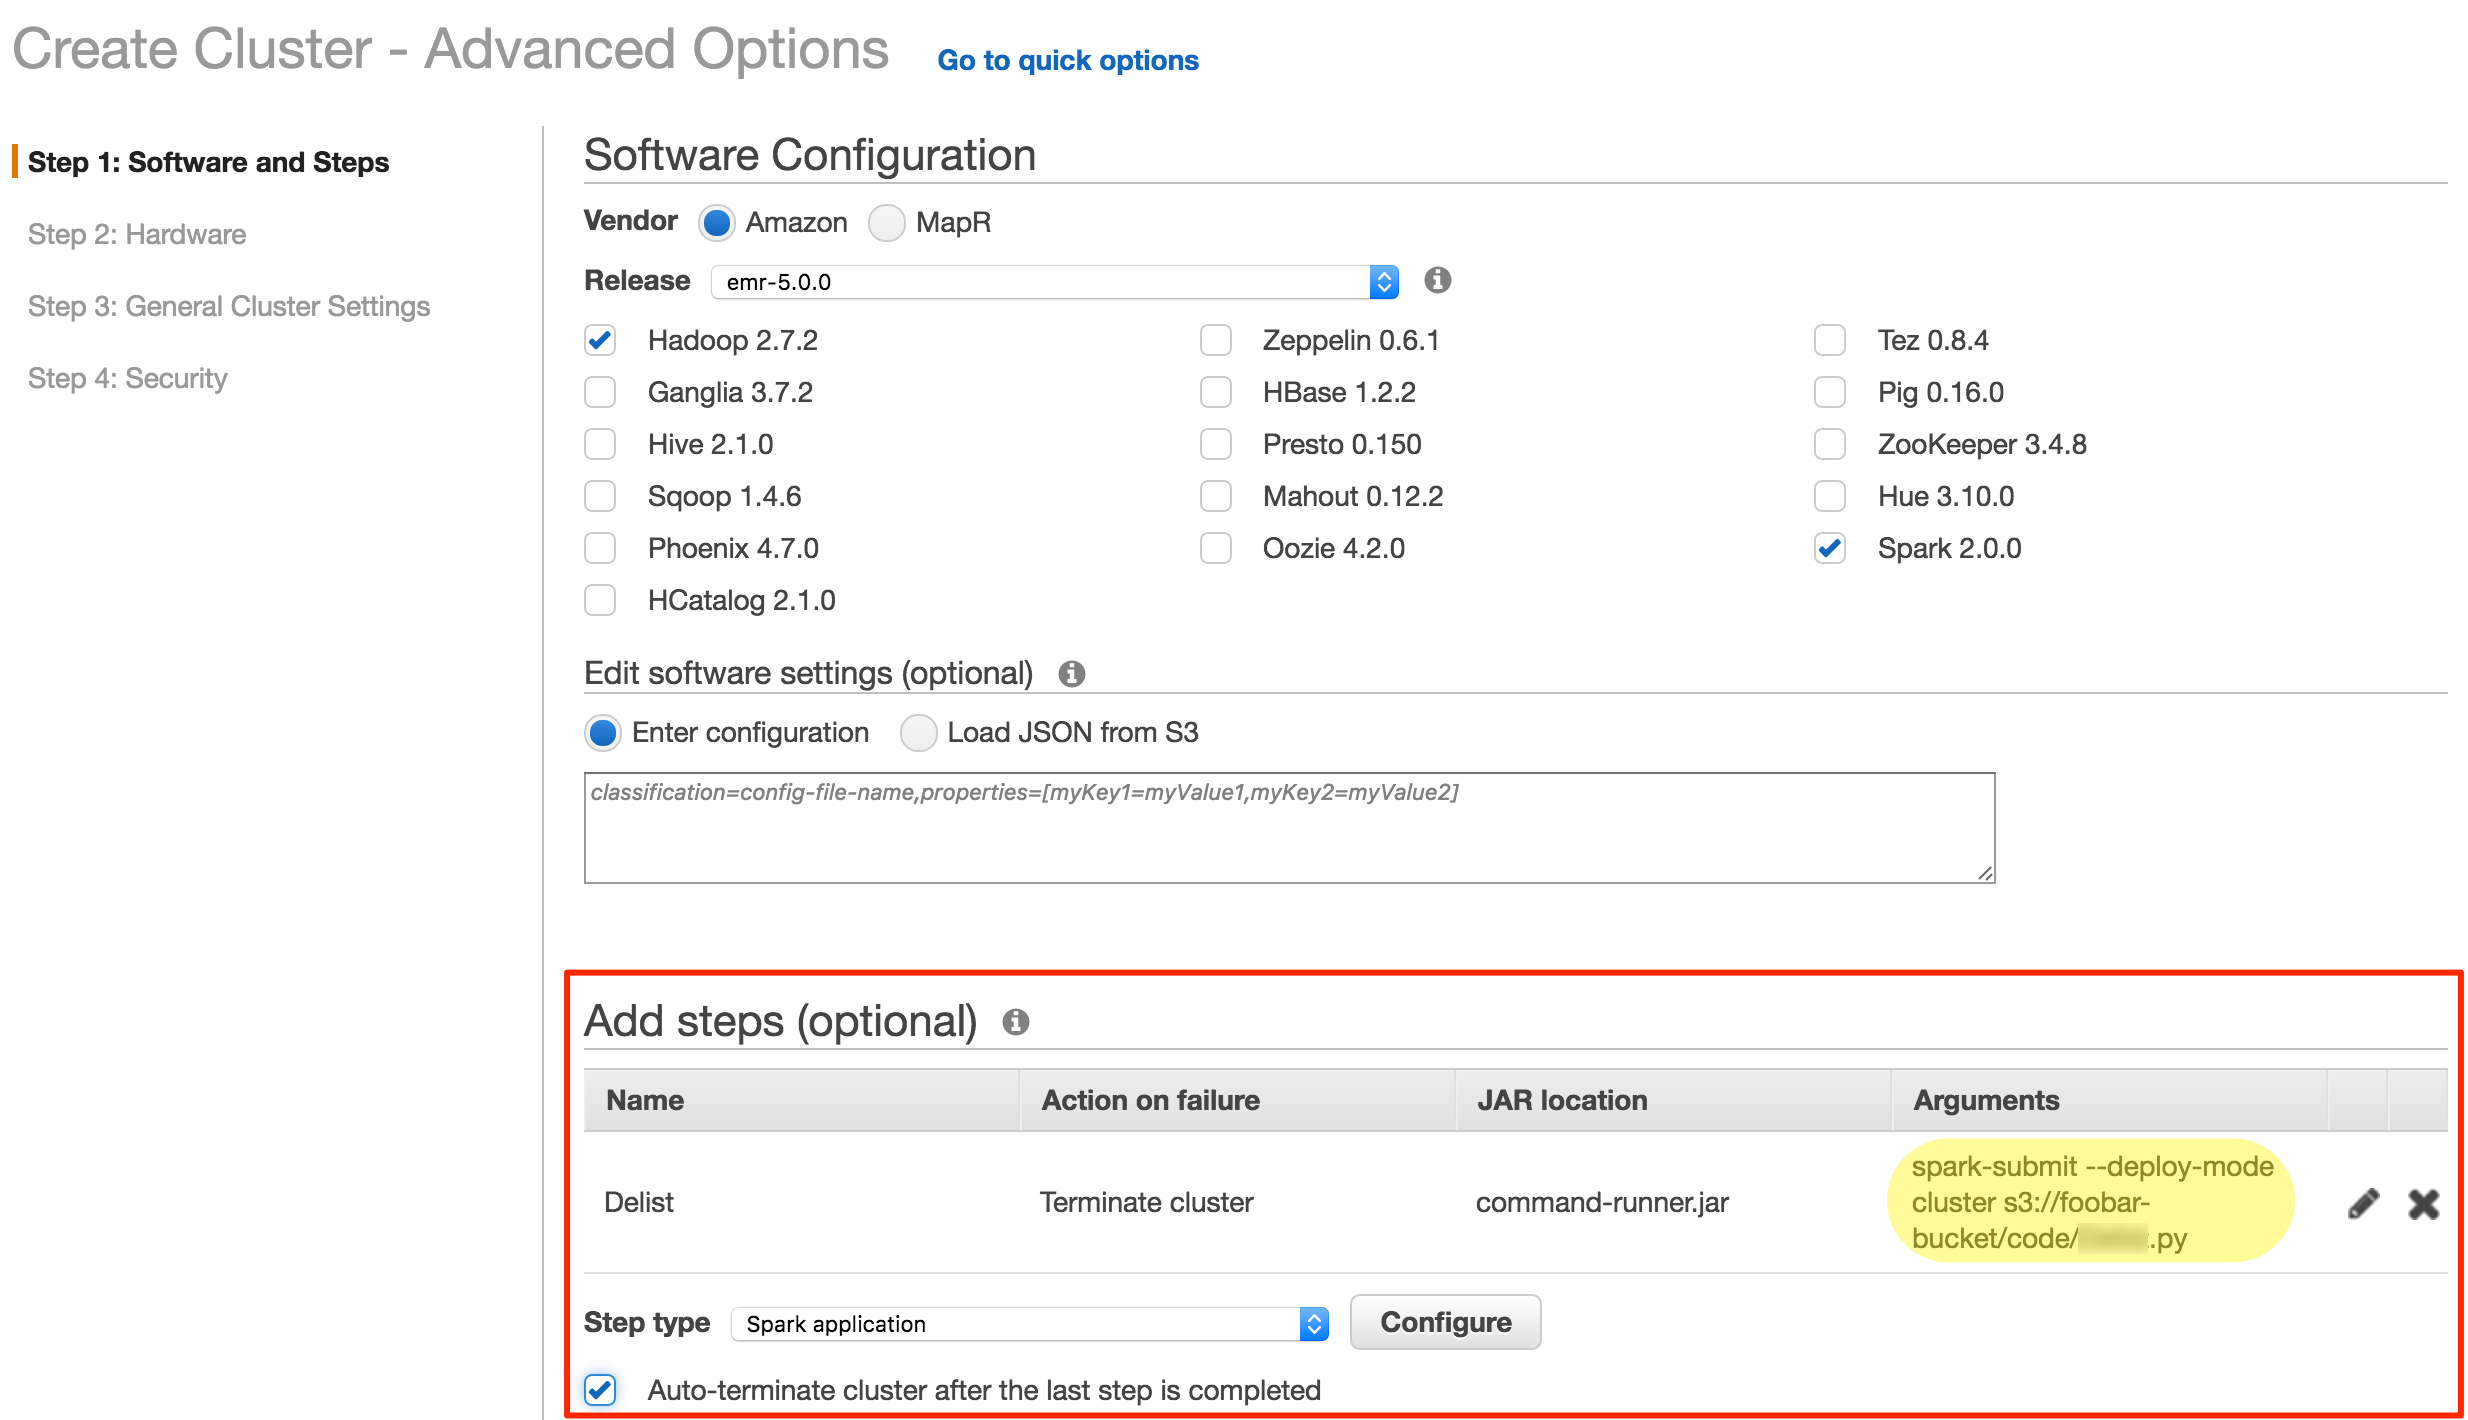
After testing out this approach successfully, I took it one step further - command line invocation. AWS make this ridiculously easier, because from the home page of any EMR cluster (running or not) there is a button to click which gives you the full command to run to spin up another cluster with the exact same configuration
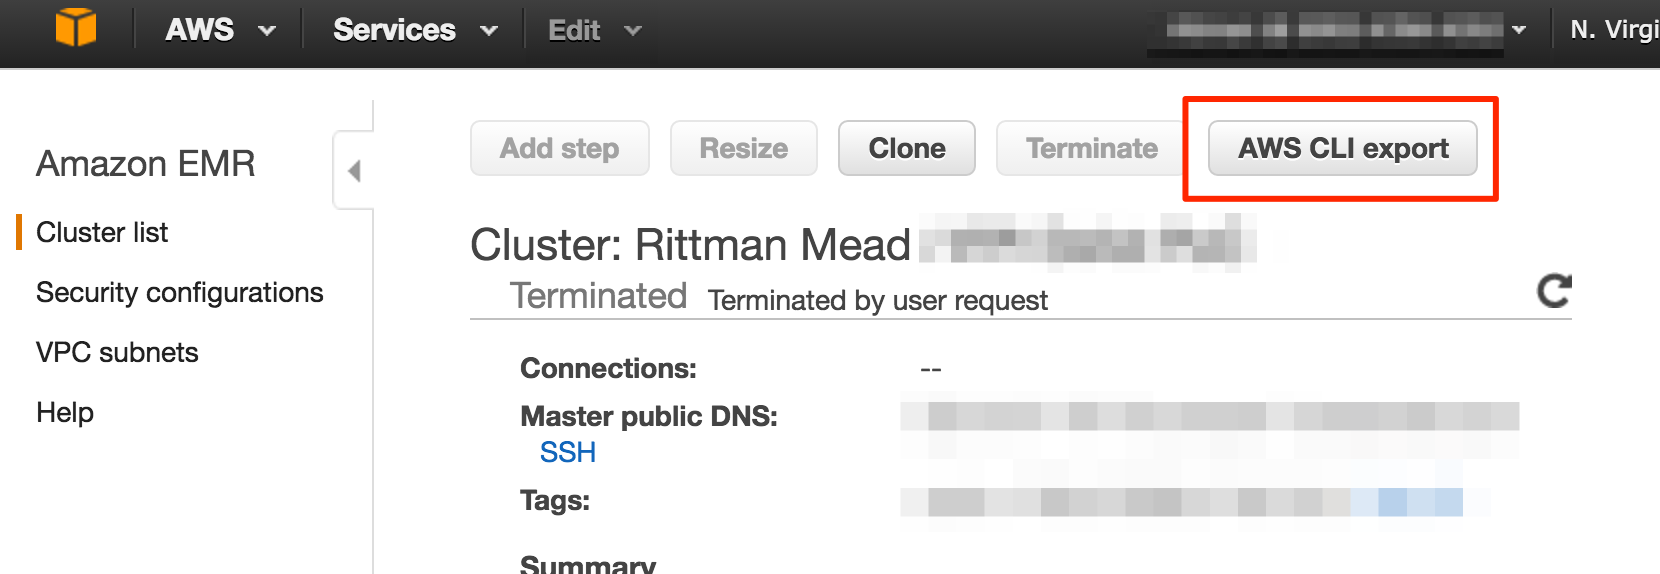
This gives us a command like this:
    aws emr create-cluster \
    --termination-protected \
    --applications Name=Hadoop Name=Spark Name=ZooKeeper \
    --tags 'owner=Robin Moffatt' \
    --ec2-attributes '{"KeyName":"Test-Environment","InstanceProfile":"EMR_EC2_DefaultRole","AvailabilityZone":"us-east-1b","EmrManagedSlaveSecurityGroup":"sg-1eccd074","EmrManagedMasterSecurityGroup":"sg-d7cdd1bd"}' \
    --service-role EMR_DefaultRole \
    --enable-debugging \
    --release-label emr-5.0.0 \
    --log-uri 's3n://aws-logs-xxxxxxxxxx-us-east-1/elasticmapreduce/' \
    --steps '[{"Args":["spark-submit","--deploy-mode","cluster","s3://foobar-bucket/code/Acme.py"],"Type":"CUSTOM_JAR","ActionOnFailure":"TERMINATE_CLUSTER","Jar":"command-runner.jar","Properties":"","Name":"Acme"}]' \
    --name 'Rittman Mead Acme PoC' \
    --instance-groups '[{"InstanceCount":1,"InstanceGroupType":"MASTER","InstanceType":"m3.xlarge","Name":"Master instance group - 1"},{"InstanceCount":2,"InstanceGroupType":"CORE","InstanceType":"m3.xlarge","Name":"Core instance group - 2"}]' \
    --region us-east-1 \
    --auto-terminate
This spins up an EMR cluster, runs the Spark job and waits for it to complete, and then terminates the cluster. Logs written by the Spark job get copied to S3, so that even once the cluster has been shutdown, the logs can still be accessed. Seperation of compute from storage - it makes a lot of sense. What's the point having a bunch of idle CPUs sat around just so that I can view the logs at some point if I want to?
The next logical step for this automation would be the automatic invocation of above process based on the presence of a defined number of files in the S3 bucket. Tools such as Lambda, Data Pipeline, and Simple Workflow Service are all ones that can help with this, and the broader management of ETL and data processing on AWS.
Spot Pricing
You can save money further with AWS by using Spot Pricing for EMR requests. Spot Pricing is used on Amazon's EC2 platform (on which EMR runs) as a way of utilising spare capacity. Instead of paying a fixed (higher) rate for some server time, you instead 'bid' at a (lower) rate and when the demand for capacity drops such that the spot price does too and your bid price is met, you get your turn on the hardware. If the spot price goes up again - your server gets killed.
Why spot pricing makes sense on EMR particularly is that Hadoop is designed to be fault-tolerant across distributed nodes. Whilst pulling the plug on an old-school database may end in tears, dropping a node from a Hadoop cluster may simply mean a delay in the processing whilst the particular piece of (distributed) work is restarted on another node.
Summary
We've developed out simple ETL application, and got it running on Amazon's EMR platform. Whilst we used AWS because it's the client's platform of choice, in general there's no reason we couldn't take it and run it on another Hadoop platform. This could be a Hadoop platform such as Oracle's Big Data Cloud Service, Cloudera's CDH running on Oracle's Big Data Appliance, or simply a self-managed Hadoop cluster on commodity hardware.
Processing time was in the region of 30 minutes to process 2M rows across 30 files, and in a separate batch run 3.8 hours to process 283 files of around 25M rows in total.
So far, the data that we've processed is only sat in a S3 bucket up in the cloud.

In the next article we'll look at what the options are for actually analysing the data and running reports against it.
